In my previous “prologue” blog post I introduced a small handful of topics that discuss how to automate things in Azure, specifically SQL agent jobs. This stems from recent needs we’ve had at SSG to automate several of our Azure clients’ processes, especially tasks like rebuilding indexes and updating statistics. This first (real) post in the series discusses how to run agent jobs. More specifically, this post focuses on index maintenance using Azure Automation and Runbooks.
Follow-up blog posts will discuss doing the same thing using Azure Functions and Azure Elastic Jobs.
What is Azure Automation?
Let me begin by stating that this isn’t a deep dive into Azure Automation, simply because we could do a whole blog series just on that. Let us know if you’d like to see that!. This will provide a quick intro and summary of what Azure Automation is to lay the appropriate foundation for this blog.
In its simplest terms, Azure Automation is a cloud-based automation service that allows you to orchestrate and automate processes across your Azure and non-Azure environments. Azure Automation allows you to use several methods for accomplishing this, including Powershell and Python to provide the process automation capabilities.
Process Automation is a key tenet of Azure Automation, and provides the ability to automate many of the repetitive tasks or processes in Azure. The key to enabling Process Automation is contained within an operating environment within Azure Automation called Runbooks.
Runbooks
A Runbook is the component within Azure Automation which enables the automation of repetitive and time-consuming tasks in Azure. In their initial incarnation, Runbooks were simply Powershell workflows that contained the automation logic you wished to implement.
Since then, Runbooks have been expanded to include and support both Python and graphical type Runbooks. For the purposes of this blog, we will create and use a Powershell Runbook. Azure Automation executes the Runbook based on the logic defined within the Runbook, which constitutes a single execution instance of the Runbook.
So, with this foundation, let’s build a Runbook to optimize indexes.
Getting Started
To get started, we need:
- An Azure SQL database
- Scripts to do the index optimize
- An Azure Automation Account (and Runbook)
Create the Database
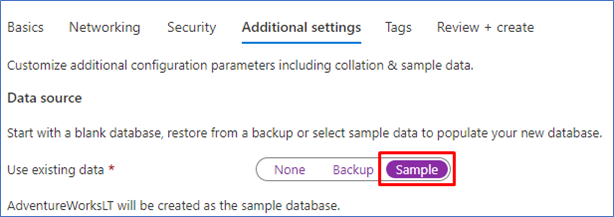
For this blog, I simply created a new General Purpose database, based off of the Sample database. For the purposes of this blog, no other configuration is needed.
Run the Scripts
With the database selected, the next step is to add the appropriate components to the database for index optimization. We at SSG are huge fans of Ola Hallengren and his Maintenance Solution. Get his awesome scripts here.
The IndexOptimize.sql script will run in Azure, but you will also need to download the CommandLog.sql file as well (run this one first). Run both of those in the database you created.
Create the Azure Automation Account
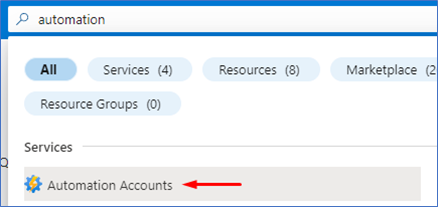
With everything prepared, the next step is to create the Azure Automation account. In the Azure Portal, type “automation” in the search bar and select Automation Accounts.
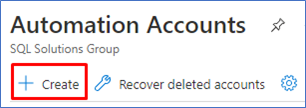
Click + Create.
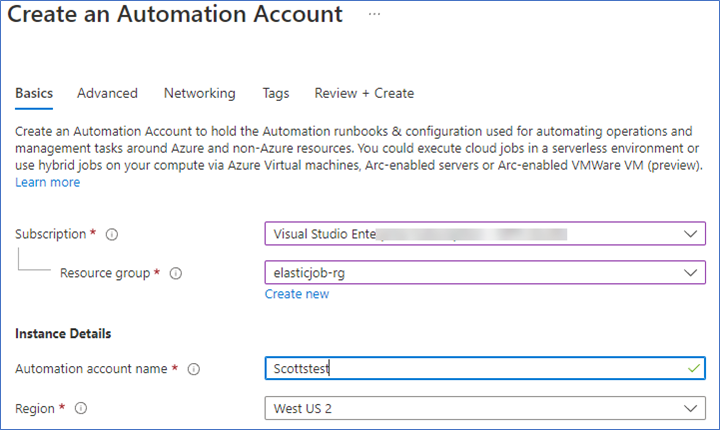
In the Basics tab of the Create an Automation Account, select the Subscription and Resource group. Then provide an account name and region.
Don’t worry about anything on the other tabs. Click Review + Create to create the Automation Account. At this point you have the basis to start automating. We’ll do that next by creating a Runbook.
Create the Runbook
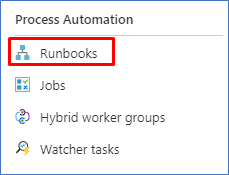
The next step is to create the Runbook. In the Navigation pane, scroll down to the Process Automation section and select Runbooks.
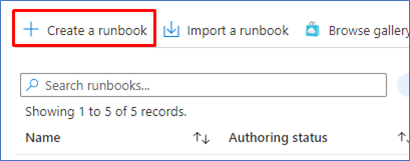
You’ll see a list of default Runbooks, but create a new one by clicking on the + Create a runbook button.
In the Create a runbook page, provide a name for the Runbook (I used IndexOptimize for this example). Then select PowerShell for the Runbook type, and select the Runtime version of 7.1.
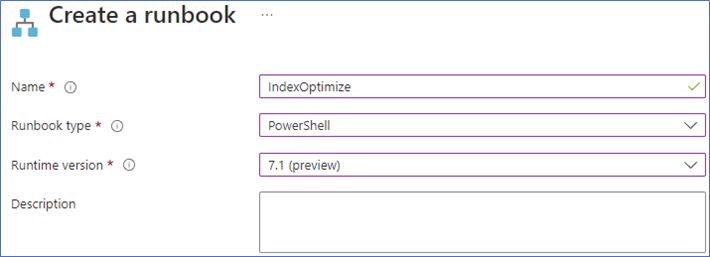
Click Create.
You’ll see a blank canvas with which to enter your PowerShell code.
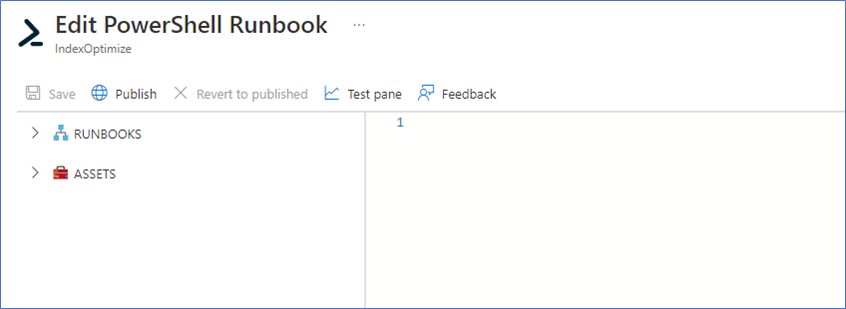
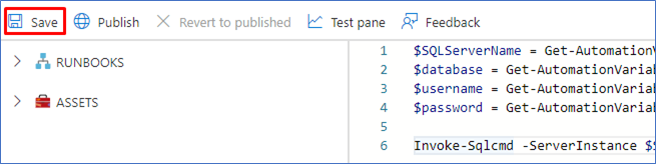
In the right pane, enter the following PowerShell code (I’ll walk through it shortly):
$SQLServerName = Get-AutomationVariable -Name "sqlserver"

$database = Get-AutomationVariable -Name "database"

$username = Get-AutomationVariable -Name "username"

$password = Get-AutomationVariable -Name "password"

Invoke-Sqlcmd -ServerInstance $SQLServerName -Database $database -Username $username -Password $password -Query "EXECUTE [dbo].[IndexOptimize] @Databases = 'USER_DATABASES', @UpdateStatistics = 'ALL', @LogToTable = 'Y'" -QueryTimeout 65535 -ConnectionTimeout 60 -Verbose
Click Save.
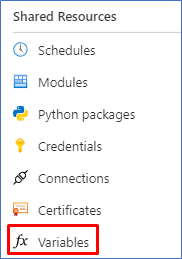
We haven’t yet published at this point, which you will do once you have tested it. But before you do that, you need to configure some variables. So, go back to your Automation Account and in the navigation pane scroll down to the Shared Resources section. Select the Variables page.
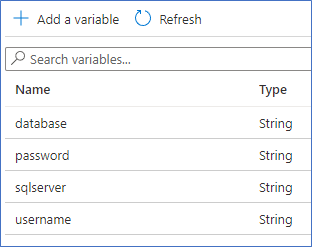
Click on the Add a variable button and add the four variables used in the code above (and as listed in the image below). Specify the appropriate values for each. In this example, for simplicity’s sake, we are just using SQL Authentication.
Now it’s time to test. Go back and select your Index Optimize Runbook, then click the Edit button. Before we test it, I’ll explain what the code is doing. The first four lines grab the values from the variables in order to connect to the Azure server and database.
The next line simply calls the PowerShell Invoke-Sqlcmd cmdlet, passing it the parameters from the first four lines, as well as a query to execute. In this case, it’s Ola’s IndexOptimize stored procedure installed earlier. In this example we are simply passing some default values to the stored procedure. If you want to know what values you should be passing in your environment, feel free to reach out to us at in**@***************up.com 😊).
Now, the key to all of this is the -QueryTimeout parameter. The Runbook is essentially executing a query just like you normally would in Powershell or any other application that connects to a database.
Note: In this example, I have specified a timeout value. If you look at the Powershell documentation for the Invoke-Sqlcmd cmdlet, omitting the parameter means that the query will not timeout.
That last part is important because if you specify a timeout period and the IndexOptimize stored procedure does NOT complete before the timeout period is reached, it will time out and roll back the item it is currently working on. So, either omit the timeout parameter or know how long the job will run.
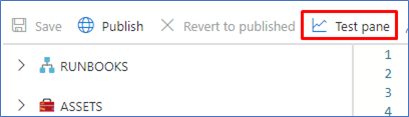
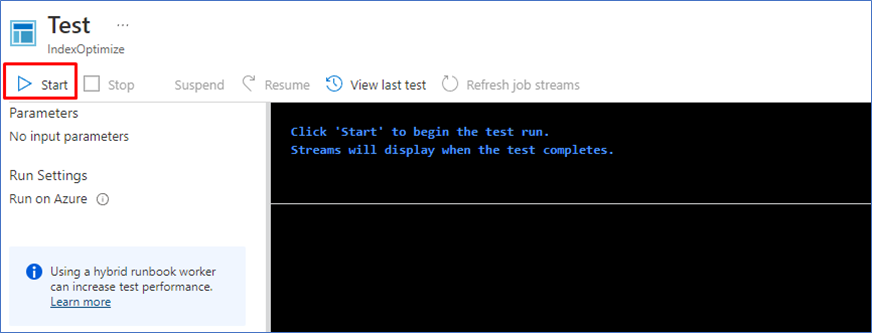
It is now time to test it. Click on the Test pane button.
Click the Start button to run the code.
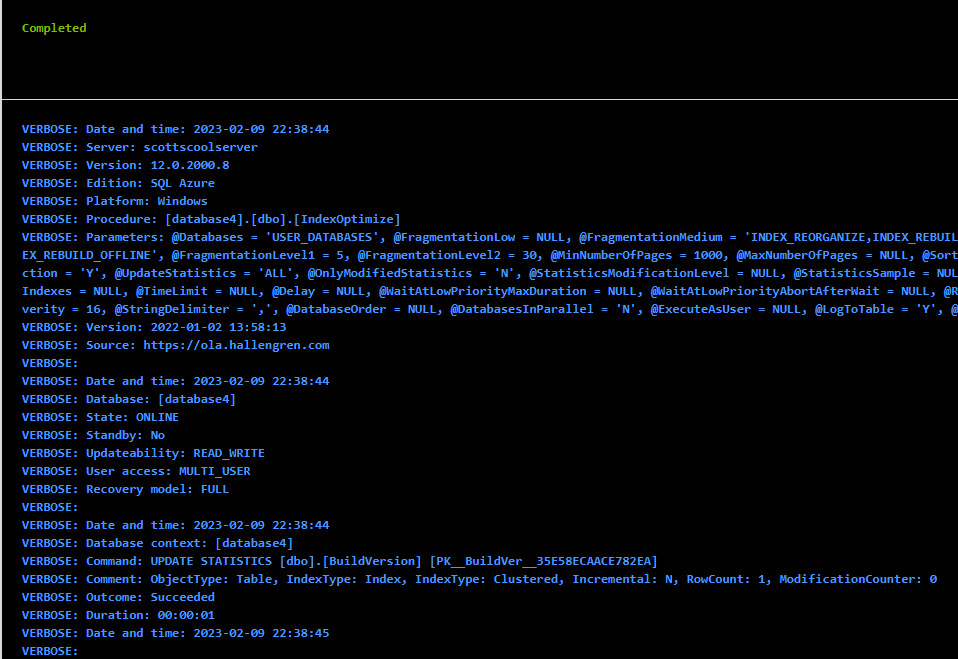
The job will be queued and then run. Because I included the -Verbose parameter, when the job finished my test window looks like this:
You can also validate that it ran by connecting to the database and querying the CommandLog table.
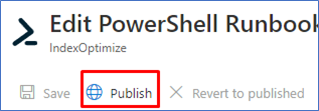
Now that it has successfully run, you need to publish it. Edit the Runbook, then click Publish.
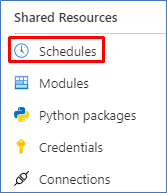
Let’s put a schedule on it. Go back to your Azure Automation account. Scroll down again to the Shared Resources section, and select the Schedules page.
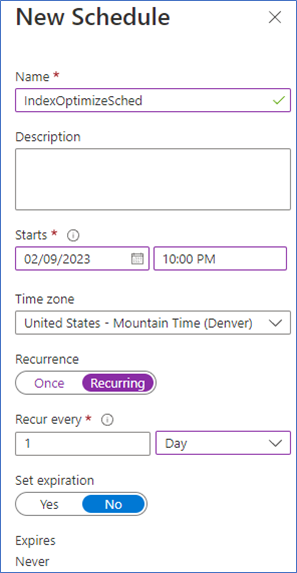
Click on + Add a schedule, then in the New Schedule blade configure the schedule however you would like, including recurrence and frequency.
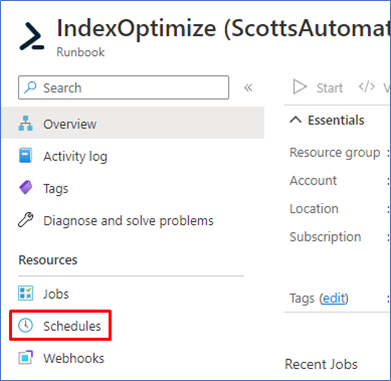
Next, click Create, then go back to your Runbook and in the Resources section select Schedules:
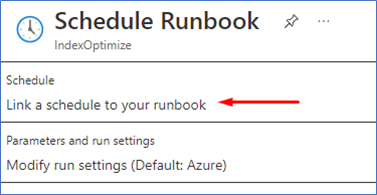
Click on + Add a schedule, then select the option to link a schedule to your runbook.
From there, select the schedule you created earlier, then click OK.
And there you have it: you have successfully created an Azure Automation and Runbook to automate your index optimization.
Pros and Cons of Azure Automation and Runbooks
Having worked with this for a while, there were some things that I want to highlight in terms of what I liked and some areas that could be better.
In the “pros” category, it was super easy to get started and going with it. I had it running in only a few hours, and that was not knowing anything about it when I began this journey a few months ago. I love the flexibility of being able to use PowerShell, Python, or a graphical interface to build the Runbook. Awesome.
I also love that I can obfuscate critical values with variables and schedule the Runbook. Sweet. And I can test the Runbook with a UI in the portal prior to publishing and scheduling. Even sweeter.
For the downsides, it is “per database.” Meaning that even though the query says “User Databases” (if you are familiar with Ola’s scripts), it is ONLY going to run the index optimize against the database specified in the parameter. That is just a limitation of Azure, not the Runbook. Thus, if you want to optimize indexes against multiple databases, you need multiple Runbooks. Or, modify the one Runbook to connect to multiple databases. This can get kinda messy.
You also need to play with the -Timeout parameter, or not include it at all.
Summary
This blog post just touches the surface of what Azure Automation and Runbooks can do. We often see companies not doing index maintenance in Azure because either they don’t know how to do it or it is too difficult. Hopefully this will help get people going.
In the next post in this series, I’ll show how to do the same thing using Azure Functions.


This Post Has 4 Comments
Pingback: How To: Running SQL Jobs with Azure Functions | SQL Solutions Group
Pingback: Automating Database Maintenance on Azure SQL – SQLServerCentral
Pingback: Index Maintenance: Automating Azure with Elastic Jobs | SQL Solutions Group
Pingback: Automating Database Maintenance on Azure SQL - sqlkitty
Comments are closed.